


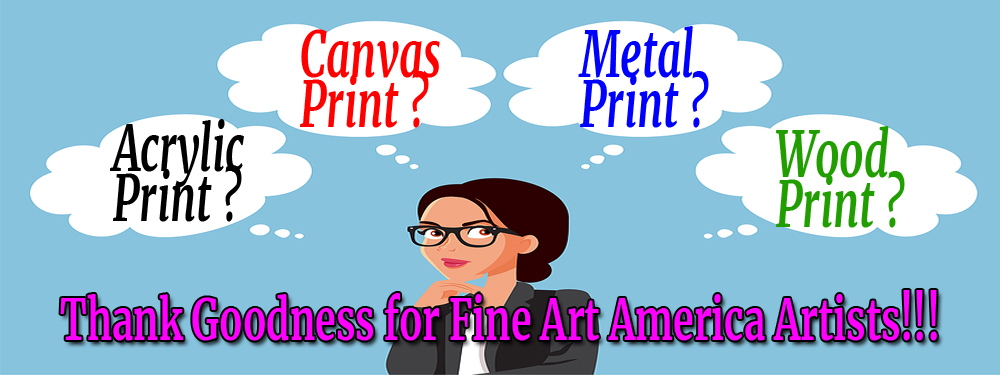


Blog 10: Five Major Art Differences

Blog 10: Five Major Art Differences
There are at least five major differences between Canvas and Acrylic finishes:
-
- Appearance
- Durability
- Price
- Transportability
- Uniqueness
“Canvas” finishes provide great quality for a digital art product at a slightly lower cost than “Acrylic” finishes.
The finish you choose for your digital art products depends primarily upon your finish preferences and your budget.
If you are not familiar with the differences in appearance between these two types of finishes, you might want to go to a photography shop and ask to see some samples so that you can see the differences between the two finishes.
You cannot really see the differences by looking at photography samples on a website. Plus, you can make better comparisons by seeing some physical examples in person:
-
- Appearance – When comparing the same art image, the art and colors in an acrylic finish stand out with a more vibrant appearance than on canvas.
- Durability – Acrylic finishes are more durable than Canvas finishes because they are more resistant to UV rays, moisture, and color deterioration.
- Price – Canvas can be much cheaper than acrylic art applications. Also, the mounting location may be better for one type of finish than another. Take a look at the environment where the art will be displayed. One type may better suited than the other (i.e., an office, a bar, dorm room, bedroom, living room, etc.).
- Transport (moving) – While this may not be much of a concern to most people … canvas is lighter to transport (i.e., when moving) than acrylic … and canvas may be slightly more resistant to damage if dropped.
- Uniqueness – Canvas prints are made by printing an image directly onto a canvas medium that can be mounted or stretched over a frame. Acrylic photo printing is developed by applying the image to a photographic paper which is then sandwiched between two sheets of acrylic.
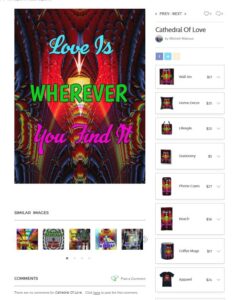
Here is the menu you will find for any of (the 1300+) digital art images on this website. I will continue to use the Cathedral of Love image since you are probably familiar with it.
Reminder, to get to this menu (for the image: Cathedral of Love):
Click > https://mitchell-watrous.pixels.com
Click > Collections > Religious Themes … scroll down to the image: Cathedral of Love
Click > Cathedral of Love (i.e., click on the image)
Click > Wall Art (in the list just to the right of larger image)
When you click on Wall Art menu below, another submenu will appear similar to this one (this is similar for any image you choose from any of the Galleries on this website):
INTRODUCTORY NOTES BEFORE THE PRACTICE EXERCISE
It may be helpful for some reviewers if we take the time to go through some introductory points … before we run through a practice exercise for you.
Note: The menu above is not “active” … and may be a little difficult to see. You must go to the website to activate any of these links (images) so that you can follow the directions. Here is a direct link to this image … which will be easier to find and to use for your practice:
https://mitchell-watrous.pixels.com/featured/2-cathedral-of-love-mitchell-watrous-brian-exton.html
After the link opens for you : Click > Wall Art … then, Click > Acrylic Print
After clicking this link, you will have several options when you get to the next page:
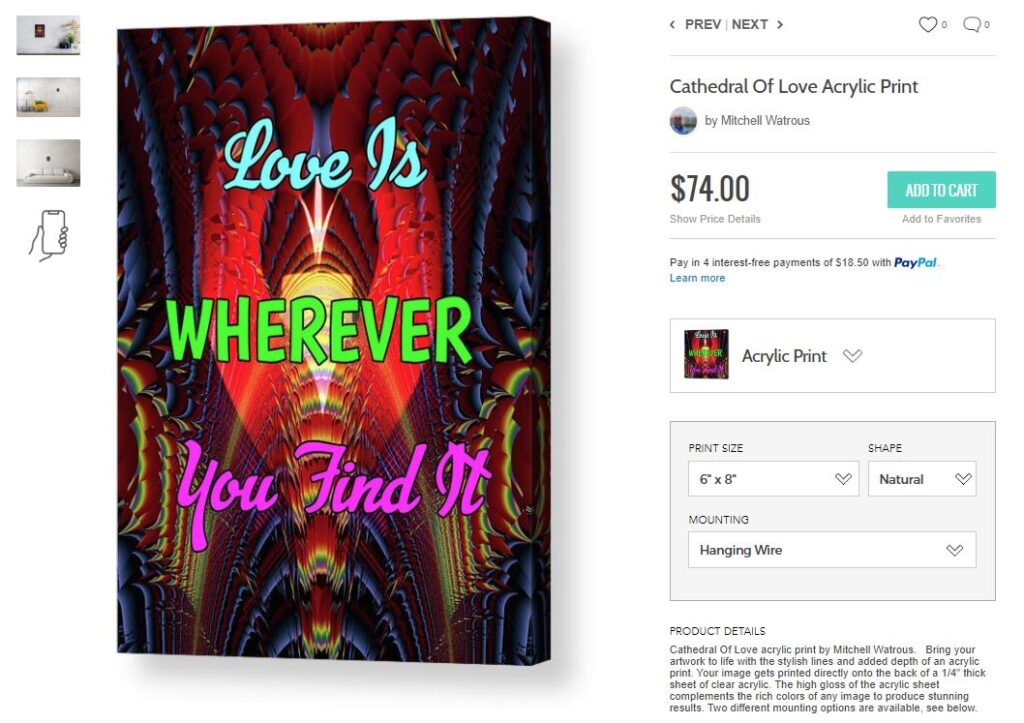
Note: Your finished image product will get printed directly onto the back of a 1/4″ thick sheet of clear acrylic. The high gloss of the acrylic sheet complements the rich colors of any image to produce stunning results.
Be aware that acrylic prints do not have “Frame” choices to go around these image prints:
Notice that you have three options for Acrylic Prints:
-
- Print Size (May have 2-5 size choices … see explanations below)
- Shape (4 Shape choices. Since this is a teaching blog … make sure text will fit on the size you select … i.e., Horizontal. If not … do not select it for purchase.)
- Mounting (2 Choices: Hanging Wire ⊕ or Metal Posts ⊕ … Click > the ⊕ symbol for additional information)
ACRYLIC PRINT SIZE CHOICES
The print size you choose can change the appearance (or orientation) of the actual image size you choose … but the number of sizes available will depend upon the SHAPE you choose.
Be sure to take a look at your large image to the left of the submenu … then, be sure to watch this image for changes as you click through your four SHAPE options below:
SHAPE CHOICES
Click >Natural – This is the image appearance you will see when you first open this section (with five size choices).
Click > Vertical – Keep watching, and you will see a slight change in appearance in the image (but, with only two size choices).
Click > Horizontal – Keep watching, and you will see a slight change in appearance in the image (but, with only two size choices). Make sure to observe if all of your words appear in the “Horizontal” orientation. If not, do not select it. In some images this can happen … so be careful if you choose that orientation (on any artists’ websites).
Click > Square – Keep watching, and you will see a slight change in appearance in the image (but, with only two size choices).
PRACTICE EXERCISE
Make sure you have the Acrylic Print selected in order to go through this particular exercise. If not, here is a quick link for you to start again: Practice Acrylic
Click > Wall Art
Click > Acrylic Print
Choose PRINT SIZE > 12″ x 16″
Choose SHAPE > Natural
Note: Check below your Acrylic Print setup … and take a look at ADDITIONAL PRODUCTS … where you may observe 25 different product application choices.
Just click on any of the icons in the Additional Products listing … and you will find a set-up menu for each one that will allow you to make modifications and changes that suit your tastes.
And the best part is that you did not have to click through 25 different set-up menus to find what is already setup and waiting for you to review.
MOUNTING CHOICES
Click > MOUNTING
You will have two “mounting” options (Mounting is simple for either method.):
-
- Hanging Wire (Click > ⊕ symbol To View Mounting Instructions” to get the mounting details.)
- Metal Posts (Click > ⊕ symbol To View Mounting Instructions” to get the mounting details.)
In case you have not had the opportunity to do so yet, here is the order information for the important tutorial book that can help you through many rough spots on FAA websites:
How can you get the book? Once again … here is the information:
| https://www.amazon.com/dp/B0BTFRP4P3 | [$4.97] eBook |
| https://www.amazon.com/dp/0981862845 | [$11.97] Print Book |
The print book is also very good … and many people prefer to have a print book in addition to an eBook.